
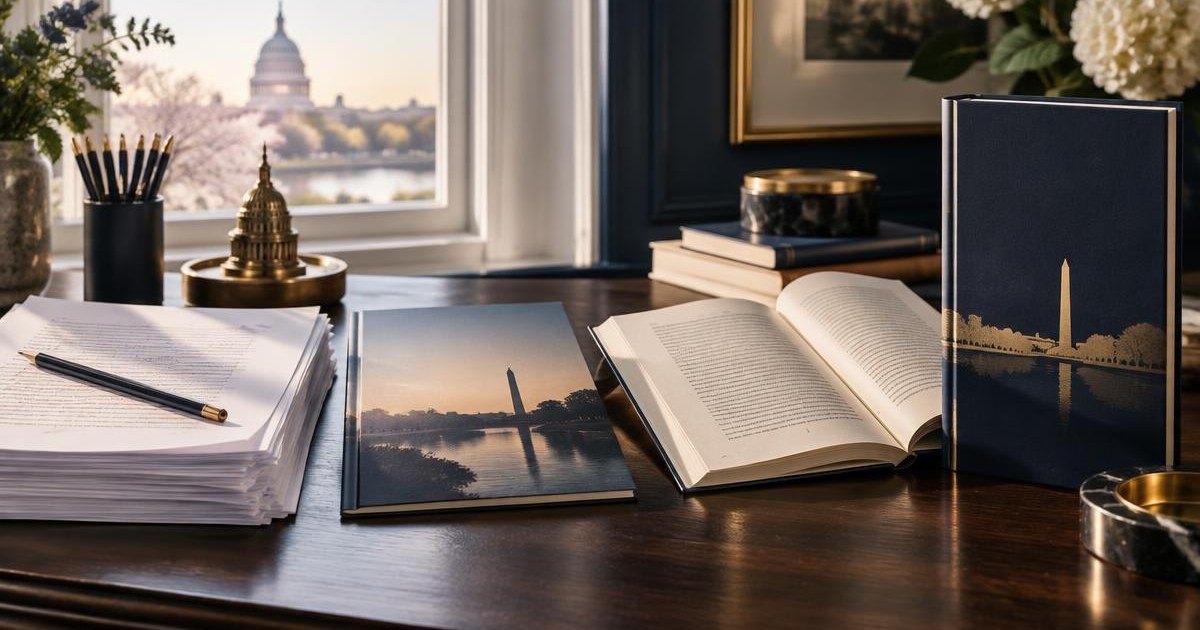
Self-publishing has never been more accessible. You can have a book listed on Amazon within weeks of finishing it — and keep full control of your rights, your price and your royalties. But "accessible" is not the same as "simple." There are a dozen decisions between a finished manuscript and a book a reader is proud to own.
Here is the step-by-step process we take our authors through, in order.
Step 1: Finish the manuscript (really finish it)
It sounds obvious, but many authors start shopping for covers before the book is done. Finish your draft, then set it aside for at least two weeks. Read it again with fresh eyes and revise. Then get feedback from two or three trusted beta readers — ideally people who read your genre and will be honest with you.
Step 2: Decide on your goal
Before you spend a dollar, decide what success looks like. Are you writing to:
- Build credibility for a business or speaking career?
- Share a family story or memoir with the people who matter?
- Reach as many readers as possible and earn royalties?
- Advance a cause or a policy argument?
Your goal shapes every later choice — how much to invest in editing, whether you need a hardcover, and how much to spend on marketing.
Step 3: Get professional editing
This is the step that most separates professional self-published books from amateur ones. Depending on the state of your manuscript, you may need a developmental edit (structure and big-picture issues), a copyedit (sentence-level clarity and consistency), and a proofread (final typo check). At minimum, every book needs a proofread by someone other than the author.
Step 4: Choose your title and subtitle
Your title should be memorable; your subtitle should be searchable. Especially for nonfiction, the subtitle is where you tell readers — and Amazon’s search engine — exactly what the book is about.
Step 5: Design your cover
Your cover has one job: make the right reader stop scrolling. Look at bestsellers in your genre and notice what they share — fonts, colors, imagery. Your cover should fit in with its genre while still standing out. You will need a front cover for the eBook and a full wrap (front, spine and back) for print, sized to your final page count.
Step 6: Format the interior
Your print book and your eBook need different files. Print needs a fixed-layout PDF with proper margins, headers, page numbers and a professional typeface. eBooks need a reflowable file that adapts to any screen. Pay attention to the front matter (title page, copyright page, dedication) and back matter (acknowledgments, about the author).
Step 7: Get your ISBN
Each format of your book needs its own ISBN. You can use a free ISBN from a platform such as Amazon KDP, but then that platform is listed as your publisher, and the number can’t be used elsewhere. Buying your own ISBN keeps you listed as the publisher of record.
Step 8: Choose where to sell
Most self-published authors start with Amazon KDP, which reaches the largest audience of book buyers. KDP pays eBook royalties of 35% or 70% depending on price and other conditions, and pays print royalties after printing costs. Many authors also distribute more widely to other retailers and libraries through an aggregator. Decide whether you want to be exclusive to Amazon (which unlocks programs like Kindle Unlimited) or available everywhere.
Step 9: Set your price
Look at comparable books in your genre and price within that range. eBooks typically sell for less than paperbacks, and hardcovers for more. You can always run promotions later. Remember: in self-publishing, you set the price.
Step 10: Plan your launch
Start building awareness before release day:
- Line up early readers who will post honest reviews in the first weeks.
- Write a strong book description — it is your sales page.
- Pick the right Amazon categories and keywords.
- Share the launch with your email list, social media and professional network.
- Consider a launch event, podcast interviews or local press.
How long does it take to self-publish a book?
Once the manuscript is final, a typical self-publishing timeline runs two to four months: several weeks for editing, a few weeks for cover and formatting, and time for proofs and setup. Rushing usually shows in the final product.
Doing it yourself vs. working with a self-publishing company
You can handle all ten steps on your own, hiring freelancers as needed. Or you can work with a self-publishing company that coordinates editing, design, formatting, ISBNs and distribution for you.
If you choose a company, make sure you keep 100% of your rights and royalties, that pricing is transparent, and that you can see real books they have produced. At Capitol Quill Press, our Washington, DC team handles every step while you keep full ownership — see our services and plans.
Frequently asked questions
Do I need an agent to self-publish?
No. Agents work with traditional publishers. When you self-publish, you are the publisher.
Is self-publishing worth it?
For many authors, yes — especially those who want control, speed and higher royalties per copy. Read our comparison of self-publishing vs. traditional publishing to decide.
Can a self-published book be in bookstores?
Yes, through wide print distribution, though bookstores choose what to stock. Many self-published authors sell most copies online.
Ready to start?
If you have a finished manuscript — or you are close — start your project with us. We will walk you through each of these steps and handle the parts you’d rather not.
Share this article